 English
 Deutsch
 Русский
 Español
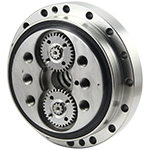
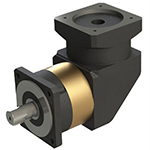
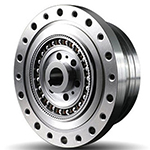
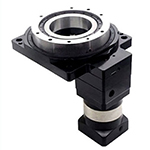
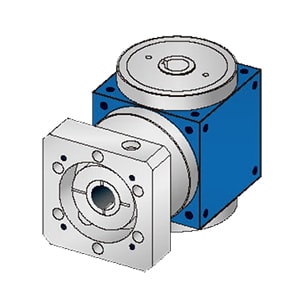


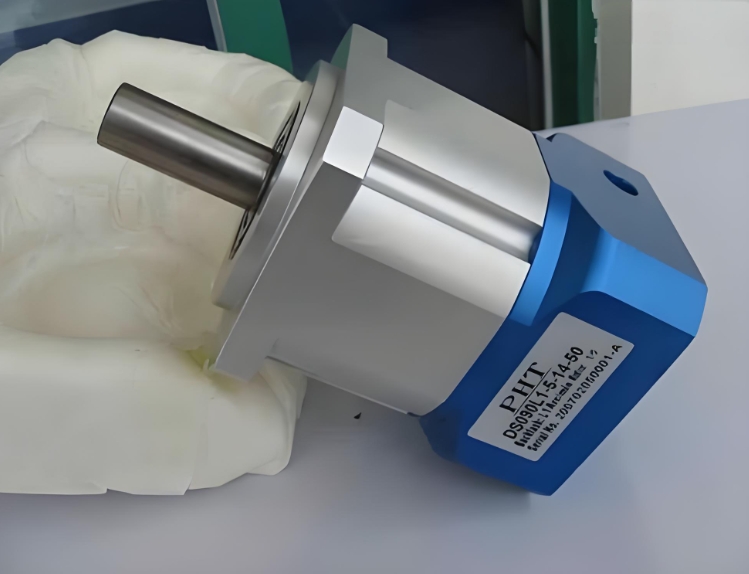
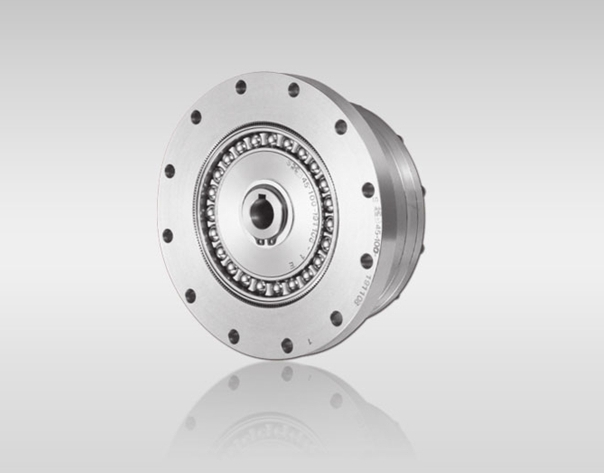
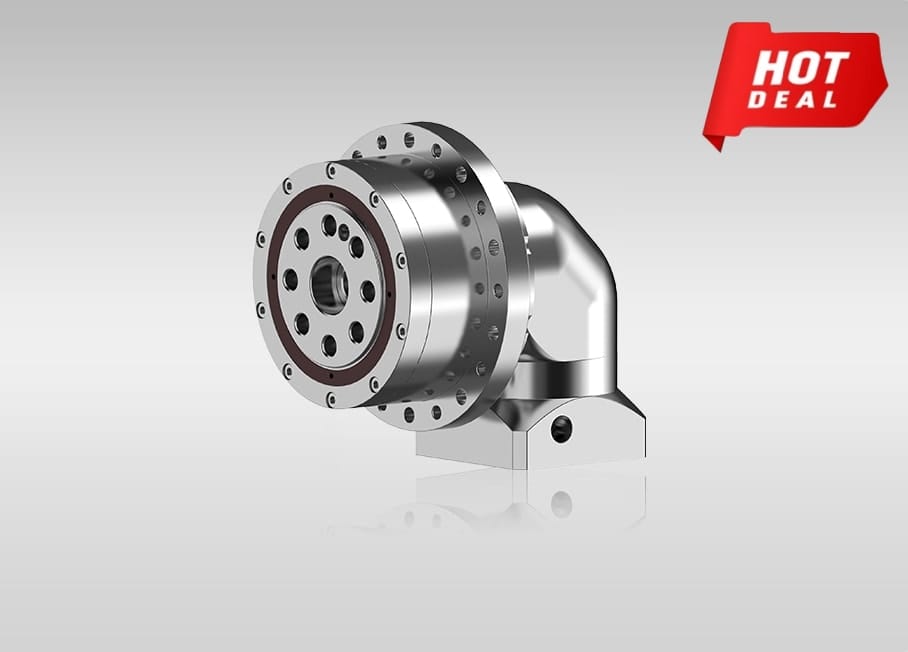
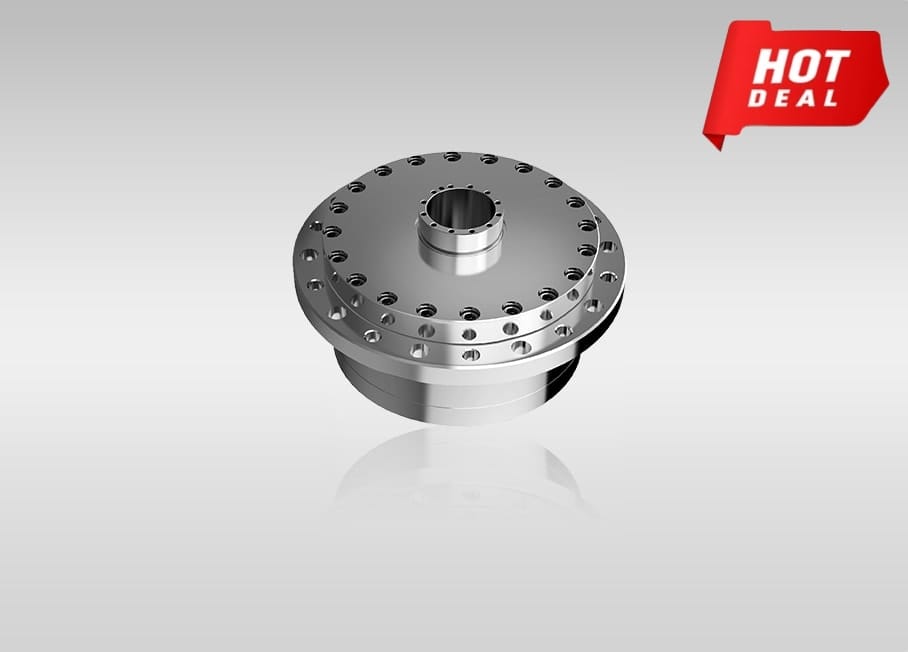
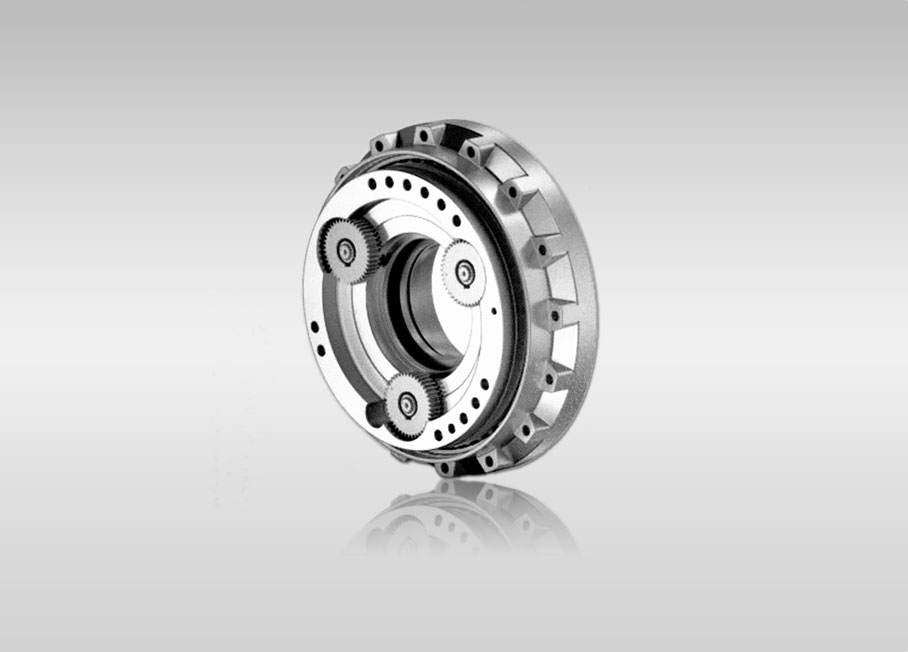
Correctly installing a planetary gear reducer (commonly referred to as an RV reducer) involves a series of steps and precautions to ensure the safety and efficiency of the equipment. Here is a guide to the steps and considerations for installing a planetary reducer:
-
Preparation: Before installation, ensure that the motor and reducer are intact and check whether the dimensions of the connecting parts of the motor and reducer match.
-
Check for Coaxiality: When connecting the motor and reducer, ensure that the output shaft of the reducer is coaxial with the input shaft of the motor, and the outer flanges of the reducer are parallel to avoid shaft breakage or gear wear.
-
Adjust the PCS System: Loosen the screws on the dust hole of the reducer flange, adjust the PCS system's locking ring so that the side hole aligns with the dust hole, and tighten it with an Allen wrench.
-
Clean Contact Surfaces: Clean the anti-rust oil from the motor input shaft, positioning protruding platform, and the reducer connection area with gasoline or zinc sodium water to ensure a tight connection and flexible operation.
-
Install Bolts: Before tightening the screws, make sure to tighten the fastening bolts. Start by loosely installing the fastening bolts at any two opposite corners, then proceed to the other two opposite corners, and finally tighten all four fastening bolts.
-
Torque Fixation: All fastening bolts should be fixed and checked with a torque wrench according to the marked fixed torque data.
-
Reaction Torque Bracket: If necessary, install a reaction torque bracket to balance the reaction torque acting on the reducer housing.
-
Installation Position: The distance between the reducer and the working machine should be as small as possible to avoid bending of the working machine's main shaft and additional force on the reducer bearings.
-
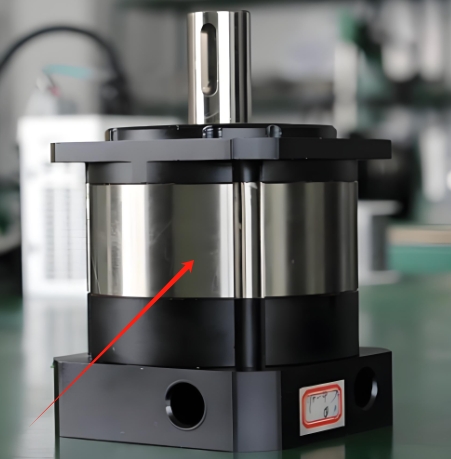
Lubrication: Before operation, check the oil level and lubricate appropriately, ensuring that the lubricating oil overflows from the oil level plug hole.
-
Test Run: Perform a no-load test run and check for any impact, vibration, noise, and oil leakage.
-
Maintenance: Regularly lubricate, clean, and inspect the equipment, prevent foreign objects such as water and dust from entering the reducer, and promptly replace worn parts and accessories.
-
Installation Method: Choose the appropriate installation method according to the actual situation to ensure that the reducer can be stably installed in the required direction and position.
-
Terminal Box Installation: If space is limited, adjust the direction of the motor's terminal box to fit the installation environment.
-
Avoid Impact: During installation, it is strictly forbidden to use tools such as hammers to strike, to prevent excessive axial or radial forces from damaging the bearings or gears.
-
Check Installation: After installation, thoroughly check the accuracy of the installation position and the reliability of each fastener to ensure that the fasteners can rotate flexibly after installation.
Following these steps and considerations can ensure the correct installation of the planetary reducer, thereby improving its work efficiency and service life. If you encounter any technical issues or require professional guidance, it is recommended to contact the reducer manufacturer or a professional technician.
Quote Now