 English
 Deutsch
 Русский
 Español
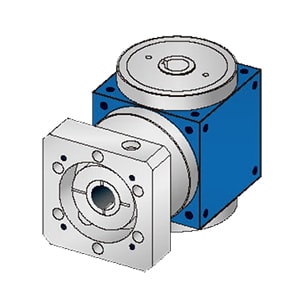


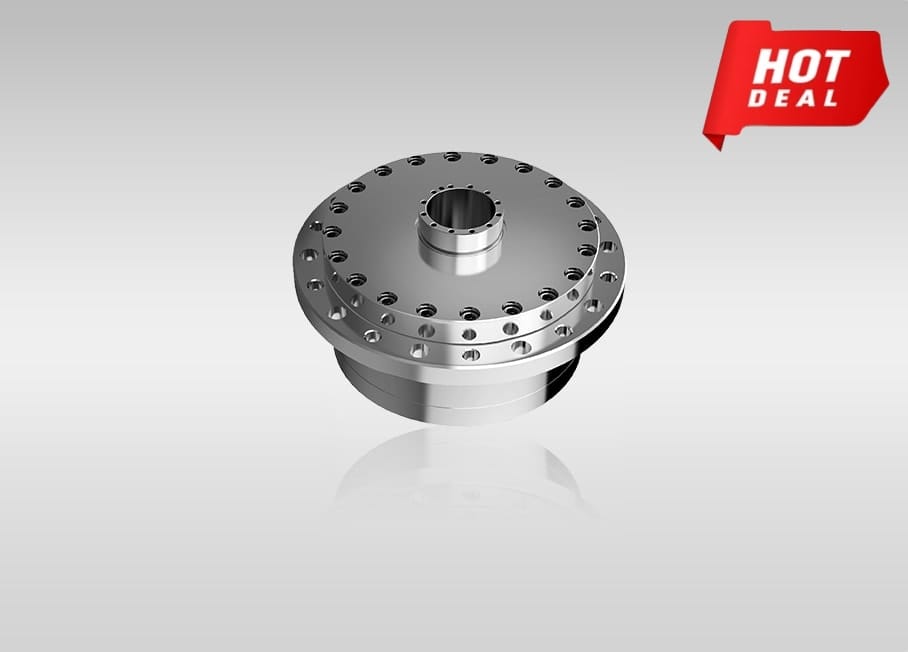
The proper installation, usage, and maintenance of an RV reducer are crucial for ensuring the mechanical equipment working well. Therefore, during the installation of the reducer, it is important to strictly follow the installation sequence outlined below and assemble the components carefully. Before installation, it is necessary to confirm the integrity of both the motor and the reducer, and meticulously inspect the dimensions and matching tolerances of the various parts connecting the driving motor to the reducer.
This refers to the dimensions and fit tolerances between the positioning protrusion and shaft diameter of the motor flange, and the positioning groove and aperture of the reducer flange; as well as the removal of dirt and burrs from the surface of the mating parts.
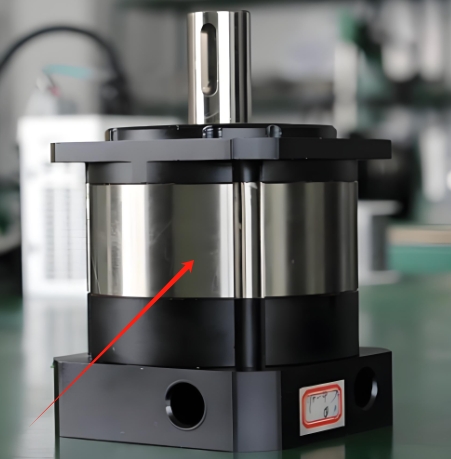
1. Unscrew the plug from the process hole on the side of the RV reducer flange. Rotate the input end of the reducer and align the hexagonal screw cap with the process hole. Insert the hexagonal tool and loosen the hexagonal screw.
2. Hold the driving motor and ensure that the key way on its shaft aligns vertically with the input end hole of the RV reducer. Insert the motor shaft into the reducer input end hole. During insertion, it is essential to ensure concentricity and parallelism between the two flanges. If there is any inconsistency in concentricity or lack of parallelism, the cause must be identified. Additionally, it is strictly prohibited to use hammering force during installation. This prevents excessive axial or radial forces that could damage the bearings of both components and allows for assessment of the proper fit through the assembly feel.
The method for determining concentricity and flange parallelism is as follows: after mutual insertion, the flanges should fit snugly with consistent gaps.
3. To ensure even force distribution between the flanges, first loosely tighten the motor fastening screws without fully tightening them. Then, gradually tighten the four fastening screws in a diagonal pattern. Finally, tighten the screws securing the reducer input end hole. It is crucial to tighten the motor fastening screws before fully tightening the screws securing the reducer input end hole.
Note: The correct installation between the RV reducer and the mechanical equipment is similar to the correct installation between the reducer and the driving motor. The key is to ensure consistent concentricity between the output shaft of the reducer and the input shaft of the driven component.

Quote Now